Avid RVers are often faced with the question: Can I do RV fiberglass repairs or RV roof repairs myself? And, of course, if you have the skillset, you can repair just about anything. However, is it worth repairing yourself?
The fact of the matter is that there is more to it than putting a fiberglass patch over a crack. You need to check that the structure has not been damaged or distorted while on the road, as this can cause a fast-growing crack and delamination.
We highly recommend using specialists for all RV fiberglass repairs, RV roof repairs, and RV service and repairs; it’s the better way to look after your home-on-wheels.
A seasoned DIY’er can repair small cracks. Start with drilling a tiny hole at the end of the crack, widen the crack slightly with a blade, fill the crack with fiberglass epoxy resin, and let it dry. However, more significant issues, such as delamination, should be handled by the experts.
So let’s Look at Why RV Fiberglass Repair is Best Done by Professionals:
Health Hazards
Fiberglass is thin fibers of plastic weaved together with strands of glass. It’s easy to understand how this can be a health hazard. Make sure you wear a face mask when working with fiberglass so you aren’t in danger of breathing in any glass particles. Gloves are essential as well, so you don’t cut your fingers with the glass strands.
What to Know about Delamination
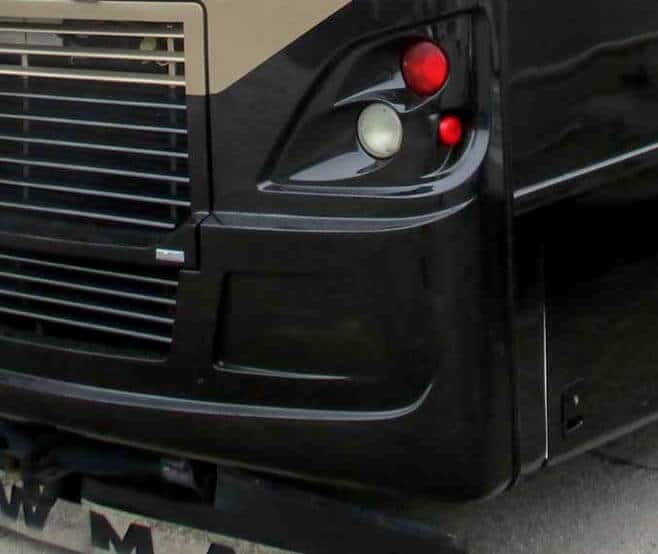
Delamination is when the fiberglass or the gel-coat outer layer of an RV starts to pull away from its substrate of luan or lightweight plywood. It starts as small cracks and then can spread further. Once water gets into the luan or plywood, you’re looking at a more extensive and costly RV fiberglass repair process.
- Interior/pass through delamination: This is the worst case of delamination, when it happens on the outside and inside of your RV.
- Exterior delamination: This is when the luan between the fiberglass and the insulation has either broken or disintegrated. A big leak will destroy the luan and send the water through to rot the wood. A small leak will divide the luan into three layers without disintegrating it.
- Bubble delamination: When the fiberglass is separated from the luan, it expands fast with the heat of the sun, and this causes it to bubble out.
The Repair Process
There is a lot of planning that goes into your delamination and fiberglass repair process because if you don’t inject the resin correctly, you won’t get another chance. So make sure you are prepped and ready. Not only do you need to consider the weather and your workspace, but you also need to have a plan for how you will be bracing and injecting the resin. These are all things the professionals are equipped with and understand.
- Identify the problem areas: Assess the extent of each problem area and how you will treat them. Start small and then move on to the bigger issues.
- Mark the areas: Put some painter’s tape on the places you will need to inject, so they are easy to find as you start working.
- Access: Remove the edging, trim, doors, and windows to access all the delaminated layers.
- Epoxy: Mix your epoxy in a small batch and load the injector. Once this is done, you will inject the epoxy into the delaminated area.
- Clamp: Once injected, press down on the area immediately in order to bond the epoxy, and apply a temporary clamp to each section
- Wait: Once all the sections are treated and the entire area clamped with the final clamp, let it stand for 15-24 hours.
Top Tips
- Work from the bottom up, clamping as you go.
- Inject above the area you need to treat, so the epoxy drips down into it.
- Mix small batches of epoxy so you don’t have issues with it hardening in the container.
- A new day, a new injector. Don’t reuse your injector over a few days; otherwise, it may start clogging.
- Have loads of wedges to help while you are clamping.
Although fiberglass repair can be done at home, the best way to protect your RV from preventable problems and to have your fiberglass repairs done well is by taking it to a professional RV service and repair center for expert RV services.
Let Coach Specialists Help
Give us a call Coach Specialists if you spot any fiberglass, RV roof repair, or delamination issues and for all necessary RV services. Coach Specialists are approved direct repair facilities for all major insurance companies, including GEICO, State Farm Progressive, Nationwide, and USAA. We pride ourselves on excellent communication with our clients and fast, superior RV renovation, RV services and repair work.
Trust us to get your RV ready for your next adventure.